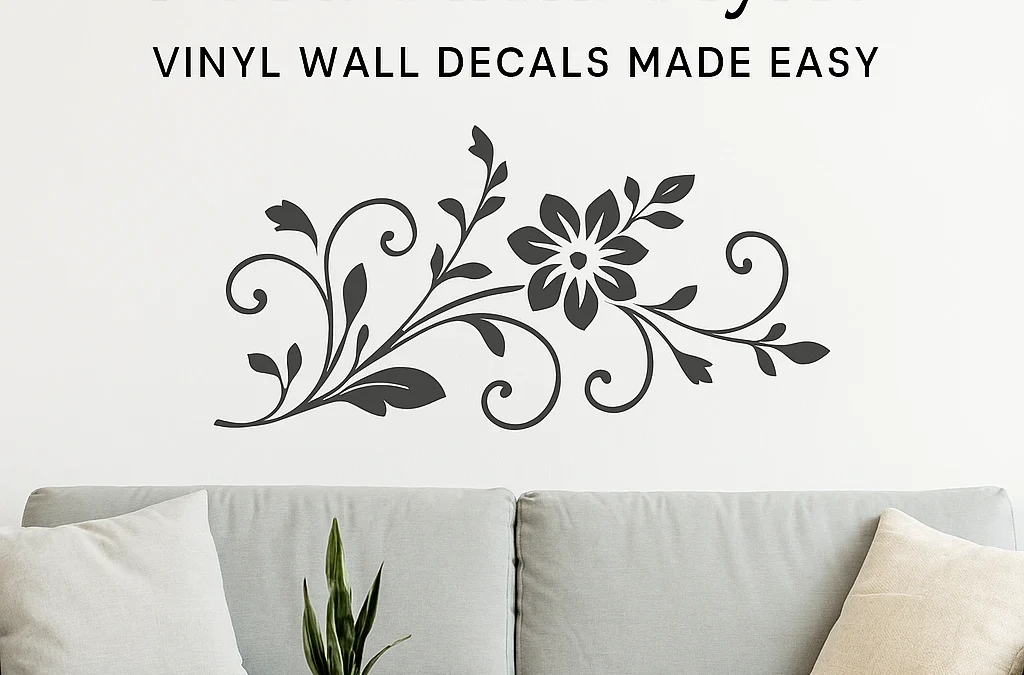
Care & Maintenance of Your Vinyl
Vinyl wall decals are one of the simplest and most creative ways to transform your space. They bring character, charm, and personality to your walls—without the commitment of paint or the expense of wallpaper. Whether it’s a motivational quote in your home office, a whimsical design in your child’s nursery, or a sleek geometric pattern in your living room, wall decals offer endless design possibilities.
But here’s the truth: just like any other decorative element, decals need a bit of care and attention to stay looking as good as the day you applied them. Dust, sunlight, humidity, and everyday wear can take a toll over time if you don’t maintain them properly. Fortunately, with the right approach, your decals can stay crisp, clean, and vibrant for years.
In this comprehensive guide, we’ll walk you through everything you need to know about caring for and maintaining your vinyl wall decals—covering cleaning techniques, environmental protection, long-term maintenance, and even safe removal when it’s time for a change.
And if you’re looking to replace or refresh your space afterward, you’ll find plenty of inspiration in the All Products section on Kraftmatics.
Why Proper Care Matters
Vinyl decals are designed for durability—but they’re not indestructible. Over time, factors like heat, humidity, and dust can affect their appearance and adhesion. Proper maintenance does more than keep your decals looking new—it extends their lifespan and ensures your investment continues to add beauty to your home.
Poor maintenance can lead to:
- Peeling edges
- Faded colors
- Dust accumulation that dulls the design
- Hard-to-remove residue when you eventually take it down
By following a few simple cleaning and care steps, you’ll maintain both the aesthetic and adhesive quality of your decals.
Our goal at Kraftmatics, as highlighted in Our Vision, is to make décor effortless yet lasting. That’s why understanding how to care for your decals is just as important as how you apply them.
Understanding Vinyl Wall Decal Materials
Before diving into care techniques, it helps to understand what your wall decals are made of. Most vinyl decals consist of three key layers:
- Vinyl Film: The visible part—where the design is printed. It’s flexible, durable, and made to adhere smoothly to most surfaces.
- Adhesive Layer: The glue that bonds the decal to your wall. Quality adhesive makes a big difference in how long your decal lasts and how cleanly it removes.
- Backing Paper or Transfer Tape: Used during installation to hold the decal in shape until it’s applied (learn more on the How to Apply Wall Decals page).
Understanding these layers helps you know what can—and can’t—be cleaned or exposed to moisture.
Common Issues That Affect Decal Longevity
Even the highest-quality decals can face challenges over time. Here are the most common issues homeowners encounter:
- Dust accumulation: Dust and lint cling to the decal’s edges, reducing its visual clarity.
- Sunlight exposure: Direct UV rays can fade bright colors.
- Humidity: Bathrooms, kitchens, or basements with high moisture can weaken adhesion.
- Temperature fluctuations: Heat can make vinyl expand; cold can make it brittle.
- Cleaning agents: Harsh chemicals or abrasive tools can damage the surface.
Recognizing these factors helps you prevent problems before they start.

Care & Maintenance of Your Vinyl
Regular Cleaning: Keep Your Decals Dust-Free
Dusting your vinyl decals should be part of your regular home cleaning routine—just like dusting furniture or baseboards. Here’s how:
- Use a soft microfiber cloth.
Avoid anything abrasive. Gently wipe the decal surface in circular motions to remove dust. - Avoid dry dusting if your walls are textured.
If your wall has texture, dry dusting can snag fibers or lift edges. Instead, slightly dampen the cloth with water. - Never use harsh chemicals.
Avoid cleaners that contain ammonia, alcohol, bleach, or acetone—they can dissolve the ink or weaken the adhesive. - Use gentle cleaning solutions when necessary.
If you need more than water, mix a few drops of mild dish soap in a bowl of warm water. Dip your cloth, wring it out well, and wipe gently. - Let it air dry naturally.
Never use a hairdryer or heat source to speed up drying—it can warp the vinyl or weaken the adhesive.
Pro Tip: Clean decals once every two to three weeks if they’re in a high-traffic area, or once a month for rooms with less activity.
Deep Cleaning: When Regular Wiping Isn’t Enough
Sometimes, a quick dusting won’t do—especially in kitchens, where grease or cooking residue can accumulate. Here’s how to safely deep clean:
- Mix a small amount of mild soap with lukewarm water.
- Use a soft sponge or cloth—avoid brushes or scouring pads.
- Gently clean in circular motions without applying pressure.
- Rinse with a clean damp cloth to remove soap residue.
- Allow to air dry completely.
If your decal covers a large surface or includes intricate cutouts, be extra gentle near edges and thin sections.
Preventing Damage from Sunlight
Sun exposure is one of the most common reasons vinyl decals lose their vibrancy. Over time, UV rays can cause fading and make colors appear dull or washed out.
To protect your decals:
- Place decals away from direct sunlight when possible.
- Use curtains or blinds during the brightest hours.
- Choose decals with UV-resistant inks (Kraftmatics’ decals are printed with fade-resistant, high-quality materials).
- Avoid excessive heat exposure, especially near windows or heaters.
If you’re curious about where your decal will look best, refer to the placement suggestions in our Blog for room-specific ideas.
Managing Humidity and Moisture
Bathrooms, kitchens, and laundry areas tend to have higher humidity levels. While vinyl decals are fairly resistant, constant moisture can affect adhesion.
To prevent peeling or bubbling:
- Ensure your wall is completely dry before applying a decal.
- Avoid applying decals directly above sinks, showers, or stoves.
- Use an exhaust fan or dehumidifier in moisture-prone areas.
- Occasionally check edges for signs of lifting—press them down gently if needed.
If your decal does peel slightly, you can carefully warm it with a hairdryer on low heat and press it back down with a clean cloth.

Environmental Factors to Watch
Vinyl decals are sensitive to changes in temperature and air quality. Keep an eye on:
- Extreme heat or cold: Avoid placing decals near radiators, fireplaces, or AC vents.
- Paint type: Flat or matte paints can reduce adhesion; satin or semi-gloss finishes work best.
- Surface texture: Smooth surfaces are ideal. Rough textures may require extra adhesive strength.
You can always review application best practices in our How to Apply Wall Decals guide to make sure your surface is perfect before installation.
Long-Term Maintenance Tips
Even with proper cleaning, your decals will benefit from periodic checkups.
Inspect edges regularly: If you see corners starting to lift, press them back down gently. Avoid using tape or glue—it can damage both the wall and decal.
Monitor color vibrancy: If colors begin to fade, it may be time to replace the decal or move it to a shaded wall.
Clean gently after painting nearby walls: Fresh paint releases gases that can affect adhesive; wait at least 2–3 weeks before reapplying or cleaning decals.
Avoid humidity changes: Use a dehumidifier in rooms that tend to get damp.
How to Store Decals Not in Use
If you’ve removed a decal temporarily or have extras you want to save:
- Lay it flat between two sheets of wax paper or parchment.
- Store in a cool, dry place away from direct sunlight.
- Avoid folding or rolling tightly—creases can become permanent.
When reusing, check that the adhesive still feels tacky and the vinyl hasn’t become brittle.
Safe Removal and Replacement
When it’s time for a new design—or when you simply want a change—proper removal ensures your wall remains clean and undamaged.
Here’s how to remove a vinyl decal safely:
- Warm the decal with a hairdryer on low heat.
This softens the adhesive and makes peeling easier. - Peel slowly from one corner.
Go at a 45-degree angle, keeping tension low. - Remove adhesive residue.
If residue remains, use a soft cloth dampened with soapy water—never harsh solvents. - Clean the wall and let it rest.
Allow the surface to rest for a few hours before applying a new decal.
If you’re ready for a fresh design, explore our curated All Products collection for inspiration or visit our Amazon Storefront for our best-selling options.
Troubleshooting: Fixing Peeling or Bubbling Decals
Peeling edges or bubbles can happen—especially in humid environments. Don’t panic; they’re fixable.
For small air bubbles:
Use a straight pin to poke a tiny hole, then smooth the vinyl outward with a clean cloth.
For peeling corners:
Apply gentle heat (low hairdryer setting), then press down firmly with a soft, dry cloth.
For severe lifting:
It might indicate moisture under the vinyl. Remove carefully, let the wall dry, and reapply using new adhesive or a replacement decal.

Frequently Asked Questions
Q: How long do vinyl decals last?
A: With proper care, high-quality decals from Kraftmatics can last 3–5 years or longer indoors.
Q: Can I use cleaning sprays on my decals?
A: It’s best to avoid them. Stick with water and mild soap.
Q: Can I repaint over decals?
A: No. Remove decals before painting for best results.
Q: Will decals damage my wall when removed?
A: Not if you remove them properly. Using gentle heat makes the process clean and residue-free.
Q: Can I reuse a decal?
A: Some smaller decals can be repositioned once or twice if handled carefully, but adhesive strength decreases over time.
Long-Term Preservation and Décor Refreshing
Even the most beautiful design may need a refresh after several years. The great thing about decals is how easily you can swap them out. Unlike permanent paint or wallpaper, decals allow you to redecorate on a whim—perfect for seasonal updates or evolving tastes.
Visit the Blog for creative ideas on refreshing your walls with new themes, colors, and layouts.
When you’re ready to switch things up, browse our All Products section or explore our full range on our Amazon Storefront.
Kraftmatics’ Commitment to Quality
At Kraftmatics, our mission is simple: to make decorating effortless, fun, and lasting. We believe great design should enhance your space while respecting your time and effort. That’s why our decals are made with premium materials—easy to apply, simple to maintain, and safe for walls.
Our Our Vision page shares more about our passion for creativity and quality craftsmanship. From concept to creation, we ensure that every decal is made to inspire.
If you ever need guidance, our friendly team is just a message away through our Contact page.
Final Thoughts: Keep Your Walls as Fresh as Your Design
Vinyl wall decals are an incredible way to bring life and personality into any room—but their beauty lasts only as long as you care for them. With the simple cleaning and maintenance tips above, your decals can stay bold, bright, and securely attached for years.
The key is consistency—gentle cleaning, environmental awareness, and careful removal when the time comes.
When you’re ready to refresh your space, remember that Kraftmatics offers both inspiration and quality. From pre-designed collections to custom pieces, everything you need is just a click away.
Explore our latest collections at Kraftmatics, and for hands-on installation tips, visit How to Apply Wall Decals.
And if you want to discover more décor ideas, design stories, or seasonal inspiration, check out our Blog.
Your walls are the canvas—Kraftmatics helps you keep the art alive.
Recent Comments